Showing posts with label decor. Show all posts

9.19.2013

DIY transformation: The Lazy Girl's Gold Leafing How-To in 4 Steps (and under $100)


I have been on the hunt for a pair of mirrors for our bedroom, inspired by gorgeous pictures like these: 

I had two things to keep in mind when looking for the perfect pair of mirrors: unique shape, and budget. After scouring Etsy, Craigslist, and even eBay for about a month, I found these dark Spanish-style mirrors on Craigslist for $35.  The shape is what attracted me to them first. They actually came off an antique dresser, so weren't made as "wall mirrors" per se; but I was about to change that :)

Before:

After:

All hail the power of gold leaf!

My mother is an artist and loves to gold leaf (we say if it isn't nailed down in her house, she'll gold leaf it). There's a reason for this... gold leaf can really turn a drab or dated piece into something fresh and expensive-looking.

I'm sharing what I did on these mirrors, but please remember there are lots of ways to do this and you can add beautiful glazes, finishes, and layers for different looks. My way is minimalistic and only uses adhesive, gold leaf, and sealant. So here we go!

My easy-peasy, gold leafing how-to in 4 steps:

Materials:  
2. Gold leaf adhesive
3. Acrylic sealant
4. A small paintbrush
5. A workspace that can get messy (the gold will flake)
...and patience!
         *Type and brand of gold leaf: My mom recommends Mona Lisa gold leaf sheets in GOLD. These can be purchased at Michael's (Hobby Lobby used to carry Mona Lisa but mine carries another brand now). Mona Lisa has a ton of kits, some with all the items mentioned above in one package. 

1. Prepare your workspace as if you're about to paint. I used painter's tape to protect the mirror edges, and copy paper to cover the mirror itself. 


2. Put adhesive all over item you're gold leafing. Any spot you miss will not be sticky and the gold won't adhere, so be meticulous. Using a paintbrush worked best for me, the sponge brush I tried soaked up the glue. Let the adhesive sit, as it gets stronger and stickier as it dries.

You can either paint on the adhesive, which is what I did ($3):
 or get the type in the spray can ($10) or pen ($11) for small projects.


3. Time to pull out your book of gold leaf sheets. I found the sheets much less messy than the flakes, since I had a larger surface to cover. They are $6 for 25 sheets; I used 3 books (my rec is to buy more than you think you'll need, then just return the unopened ones. It's never fun to run out mid-project!)

Carefully pull off a sheet, doing your best not to wrinkle it in the process. For me, the best application was letting the sheet "float" onto the surface, then smoothing it down with my finger.  For tiny crevices my finger couldn't get to, I used the tiny paintbrush.
After you have your piece covered, go back and look for any gaping holes where the gold leaf didn't adhere. Take your paintbrush and add adhesive to any "holes" in your gold leaf... wait to dry... and repeat process.

You don't want it to be patchy, but remember: to get a naturally distressed look, you don't want the gold leaf to cover every single inch of the piece. If you wanted that look, you could just use spray paint. With gold leaf, the richness and gild of the finish really comes from the unique way the gold is applied.


4. Congrats, the hardest part is over! It's tempting to finish the project here, but the sealant is very important. You don't want flakes all over the floor instead of on your lovely piece. Let the gold leaf cure overnight, then finish with an acrylic topcoat (about $6).
Let dry, and enjoy your beautiful work!

Project cost:
Mirrors- $35
3 Books of Gold Leaf- $18
1 jar of adhesive- $3
Pack of paintbrushes- $4
2 cans of acylic topcoat- $12
Total: $72

More links:

3.25.2012

Pretty Little Nurseries.

Ah, so I am thrilled to announce that there is going to be a huge new joie in my life! The husband and I are expecting our first child in September and we are over the moon. And since this blog is a reflection of whatever my obsession-of-the-moment may be, it only makes sense to dedicate this post to baby boudoirs!

In my current role of incubator second trimester mom-to-be, I have little knowledge of what it's like to have a child. I do know enough to realize that most of the nurseries in this post are:

1. Look-don't-touch,
2. Completely superfluous,
3. Gorgeous for glossy pages, but
4. NOT realistic.

Still, I've enjoyed them and I'm hoping anyone that comes across this blog may as well.

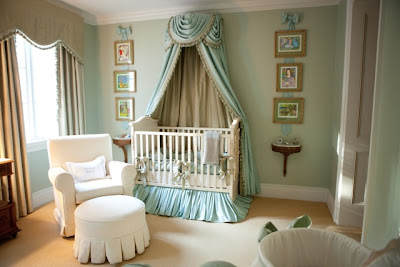
It's French, it's aqua... ergo, I love.
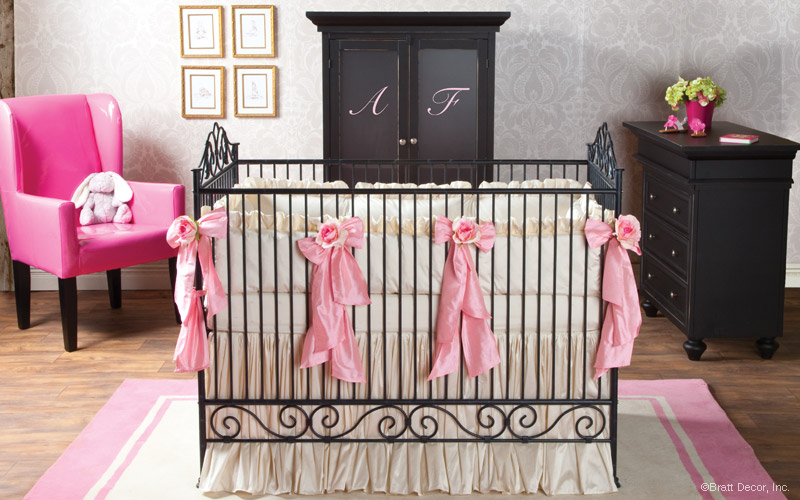
So simple yet pretty, and just switch the pink bedding with blue and you're ready for a little fella!


Smooth, clean lines
The "my kid can already read" Nursery


I love, love, love iron cribs

Cobblestone bedding
Framed Shel Silverstien poems... love this concept!

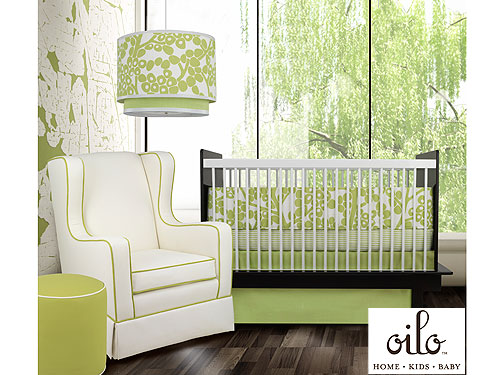
Clean lines, graphic prints


Admittedly, the smiley pup drew me to this one first.


And it's always fun to take a peek at celebrity nurseries...
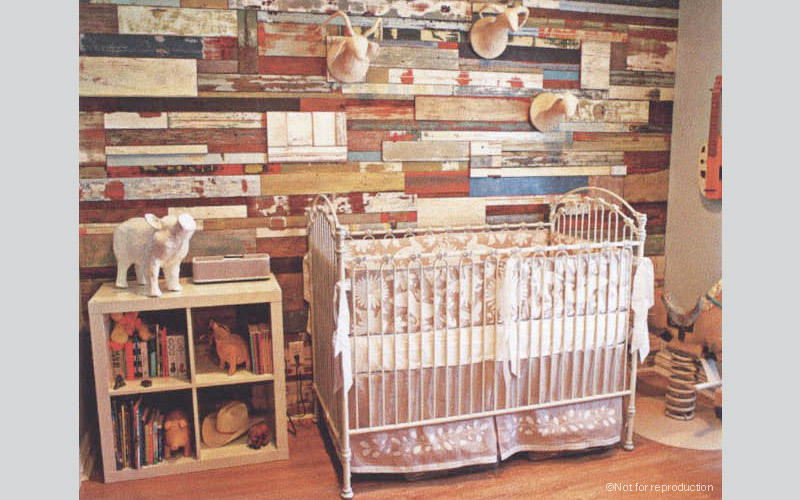
Jewel, rustic nursery

Brooke Burke, harlequin boy/girl
Jennifer Lopez
Jennifer Lopez... Part II. (Is it wrong to envy a two-year-old?)
Ricky Martin nursery, ah-ma-zing.
Jessica Alba pink with sconces
Ali Landry, vintage fashion prints on the wall

Unnamed- and very blessed-  child from Orange County, CA

12.26.2011

Merry Merry!

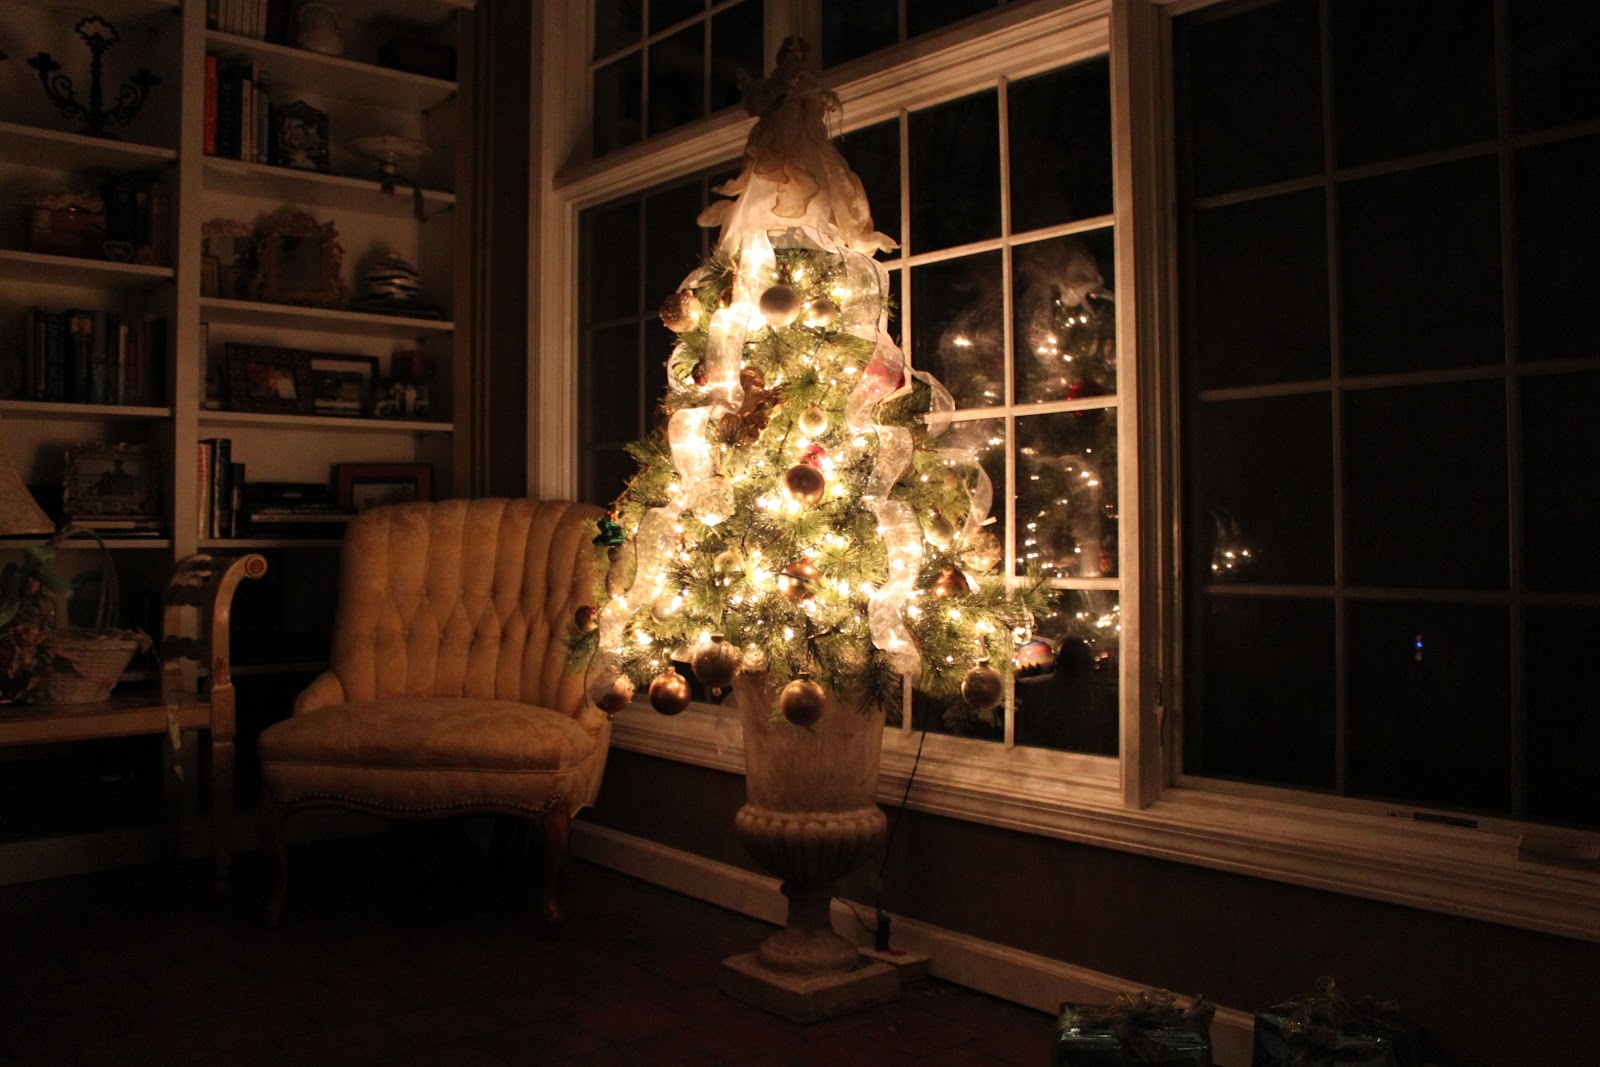
 Thanks to Pinterest, I found a way to put up a little tree in my little house.


Two of my favorite ornaments: the Frog Prince and the Slipper...

.. And one of my mom's handpainted ornaments. Every year she chooses a different color scheme. In 2004, it was pink with pearls.


And if I needed any more reminder I am officially an adult? I was giddy as I put up my very own Dickens' Village, sent to me by a dear aunt.


I hope you have a wonderful holiday!

11.16.2010

Lust List: November 2010


My tank tops haven't made it to winter storage yet, but even before Halloween, holiday decorations started popping up in retail stores. Depending on the source, the reasons for this are varied-- from a projected upswing in 2010 holiday sales to enticing bargain-savvy consumers with budget-friendly early bird deals. (Christmas in July, anyone?)

Who would fall for such a blatant ploy to encourage consumerism in this down economy?

I would, and I have.

Here are just some of the things on my radar at the moment:

Anything and everything turquoise! From Oh Joy!


It's time for my favorite-- Holiday Party Attire! Tory Burch


Unique Christmas gifts, from vintage to handmade: Etsy.com. For example...

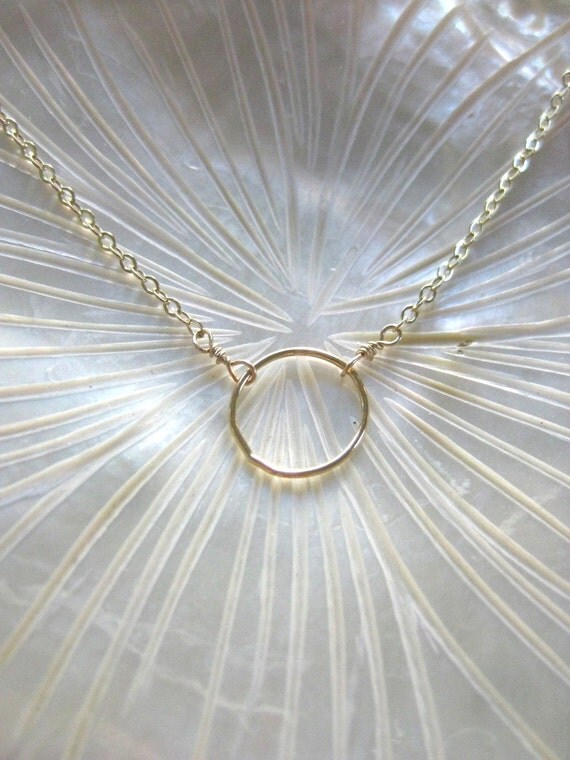
I love this seller for simple and reasonably priced handmade jewelry. I purchased the necklace above on Etsy.


Customized self-inking address stamp, myrubberstamp (also on Etsy). 
About 1/3 of the price of PSA stamps, and just as pretty!


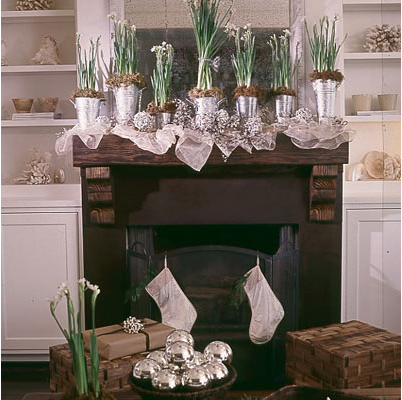
My decorations aren't up yet, but my wheels are already spinning... Coastal Living


Holiday Sets galore! "Beauty in a Box: Nars Junkie" $69 on Sephora.com


A plate of these for the party host... because during the holidays, calories don't count.


Fabulous new pieces from the Swelle Boutique


Anything and everything featured on this blog- I check it at least twice a day- swanky::chic::fete


Uber cute and a total indulgence at $345:


Loving that my favorite magazines are starting to go digital... pictured here, Martha Stewart Living